 |
If you are already using the schedule execution plan or real time execution plan, there is no need to execute steps for installing the krewData plug-in, creating the krewData app, setting access rights, or adding the plug-in. You can start using it directly just by setting up license of the new plan. |
kintone environment is a prerequisite for using krewData. To set up kintone environment, see kintone documentation.
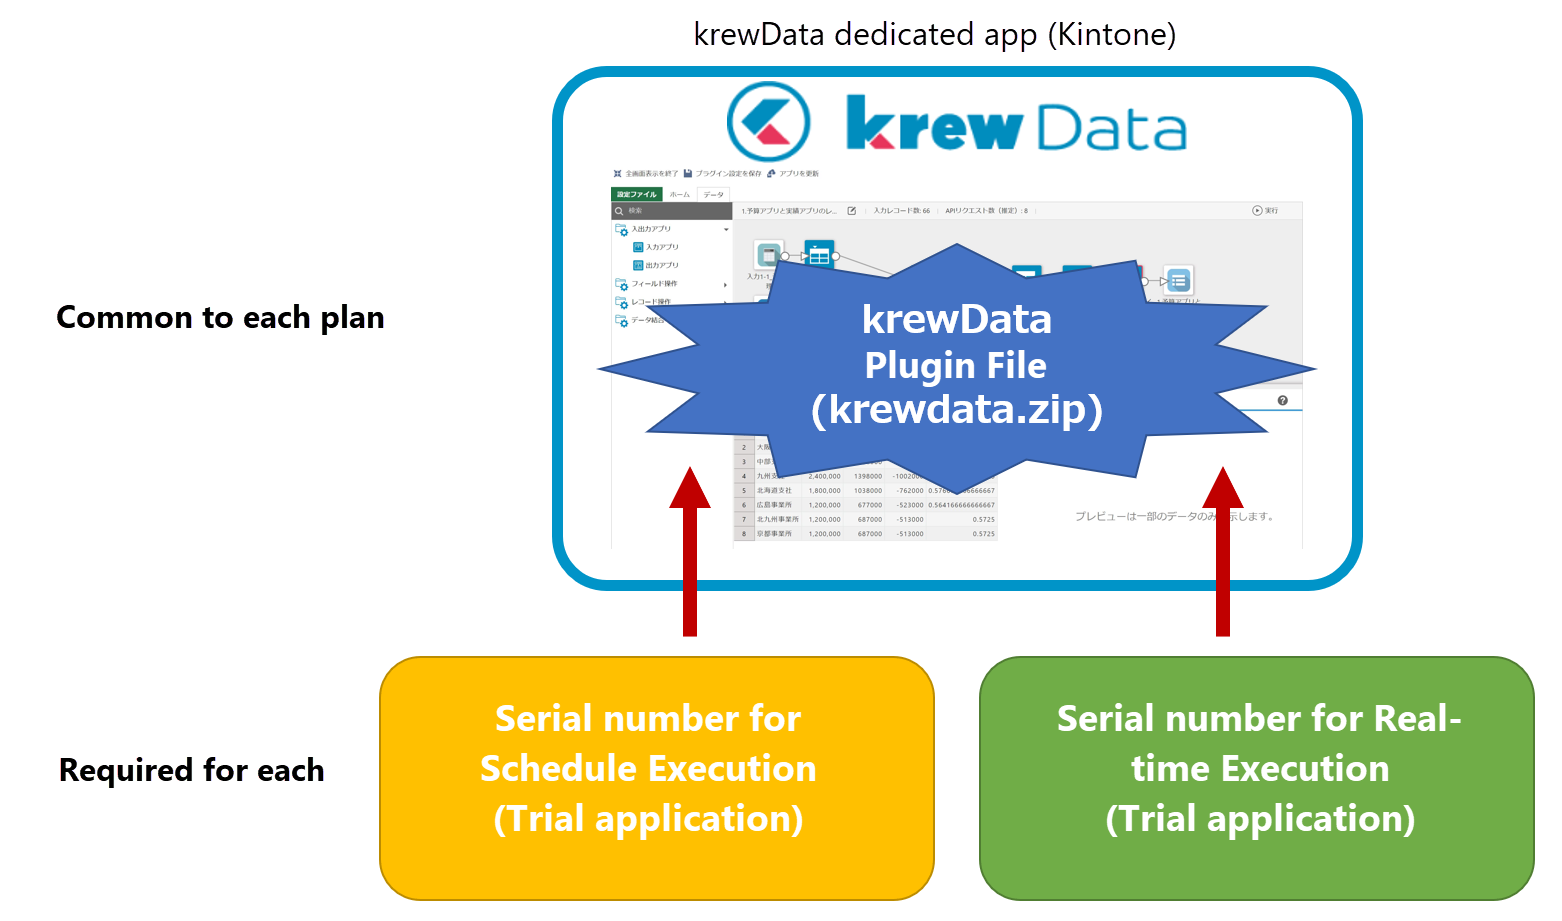
krewData has two license plans: Schedule execution plan and real time execution plan (added in November 2020). You can choose to have either or both of these plans according to your requirement.
krewData plug-in needs to be added to the krewData apps to use the product. There is a common plug-in file(krewdata.zip) for both plans.
However, as schedule execution plan and real time execution plan have separate licenses, you need to apply for their evaluation version separately to get a serial number for each.
【Steps to use】
Steps to use can be divided into two parts:
- Installation of krewData plug-in (To be done just once by the system administrator in beginning)
- Creation of krewData app (To be done once for every app by the app administrator).
Install the krewData plug-in in your kintone environment. Steps to install a plug-in in kintone environment are standard (Adding/Deleting Plug-Ins). Following are those standard steps mentioned in the context of krewData.
※You can get the krewData plug-in file(krewdata.zip) from website by applying for a free evaluation version.
This process is done by the kintone system administrator.
(1) Open the kintone Administration screen.
See Opening the System Administration Screen.
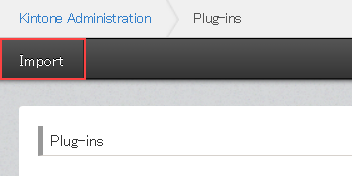
(2) Click Other > Plug-ins.

(3) Click Import.
(4) Click Browse to select the krewData plug-in file (krewData.zip) and click Import button.

|
Do not extract the plug-in zip file. Import the krewdata.zip file in the zip format itself. |
Create a krewData app using the following steps. These steps are required to be done by app administrator for each app.
- Create krewData app using the app template file
- Set permissions for the krewData app
- Add krewData plug-in to the krewData app
- Set the krewData license
(1) Create krewData app using the app template file
Steps to create a krewData app using app template file are standard (Creating an App by Importing a Template File). Following are those standard steps mentioned in the context of krewData.
※You can access template file for creating krewData app (krewdata_app_template.zip) from the link given below:
- Click
![[+] icon](images/kintone_add.png) on the App list of kintone portal.
on the App list of kintone portal. - Click Create from Template File.
- Click Browse to select the template file for krewData app (krewdata_app_template.zip).
Do not extract the template zip file. Import the krewdata_app_template.zip file in the zip format itself.
- Click Create App.
(2) Set Permissions for the krewData App
krewData is a plug-in that can aggregate and process the data of multiple kintone apps, create a new kintone app, and update the data of existing apps. It can aggregate or process data of single or multiple business apps. Hence, it is recommended to provide operation rights to a specific administrator only.
Steps to provide permissions in kintone environment are standard (Setting App Permissions). Following are those standard steps mentioned in the context of krewData.
- On the Settings page of app, go to App Settings tab and click Permissions > App.
- Set the permissions for App creator and Everyone as shown in the image below.
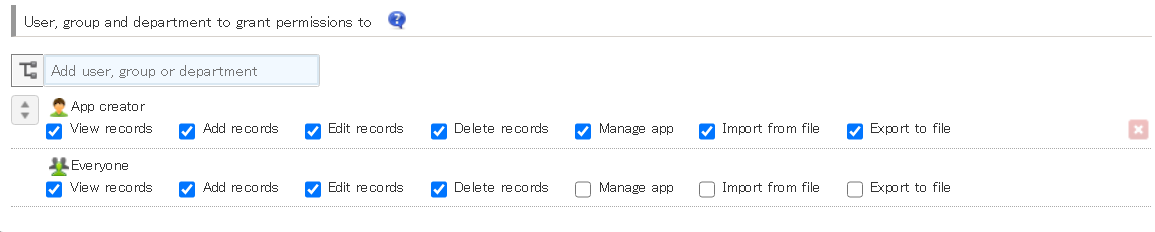
In case of granting permissions to use krewData app to a user other than App creator, set permissions same as App creator. In such case, it is recommended not to give permissions to Everyone. Instead, add an individual user or group to grant permissions.
If a user other than "App creator" has to execute the data editing flow, you need to grant "Add records" permission to that user.
 |
|
(3) Add krewData Plug-in to the krewData App
Steps to add krewData plug-in to an app are standard for kintone apps (Adding Plug-Ins to an App). Following are those standard steps mentioned in the context of krewData.
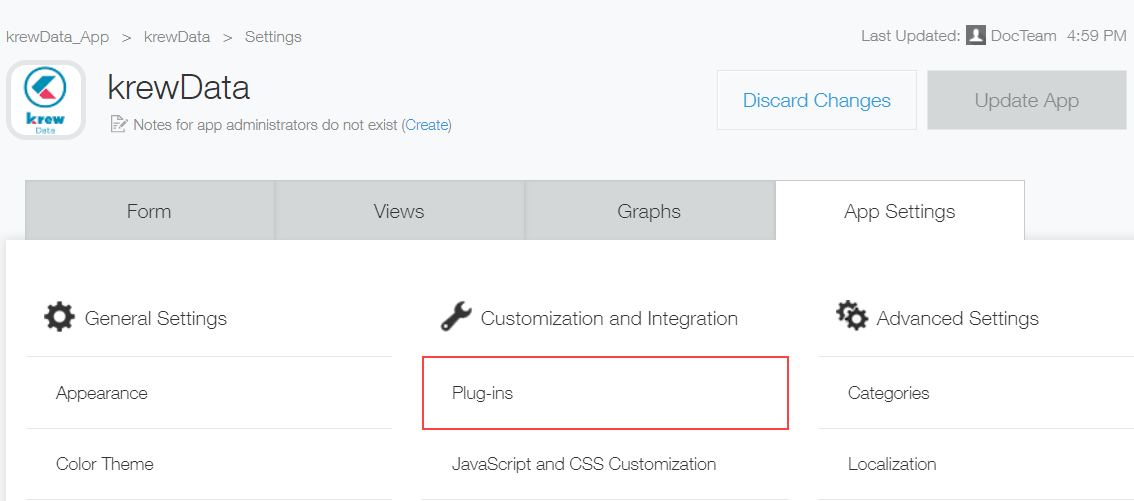
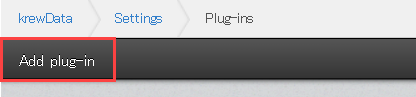
- On the Settings page of app, go to App Settings tab and click Customization and Integration > Plug-ins.
- Click Add Plug-in.
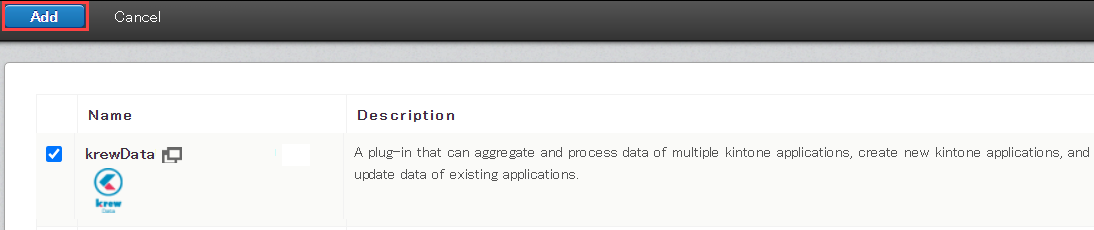
- Check on the checkbox against krewData plug-in. Click Add button.
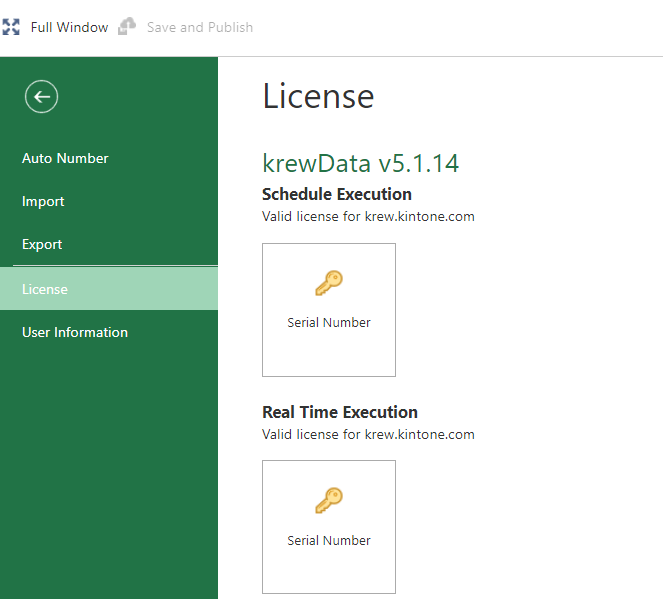
(4) License Settings of krewData
License setting is done on the Plug-in Settings page of krewData.
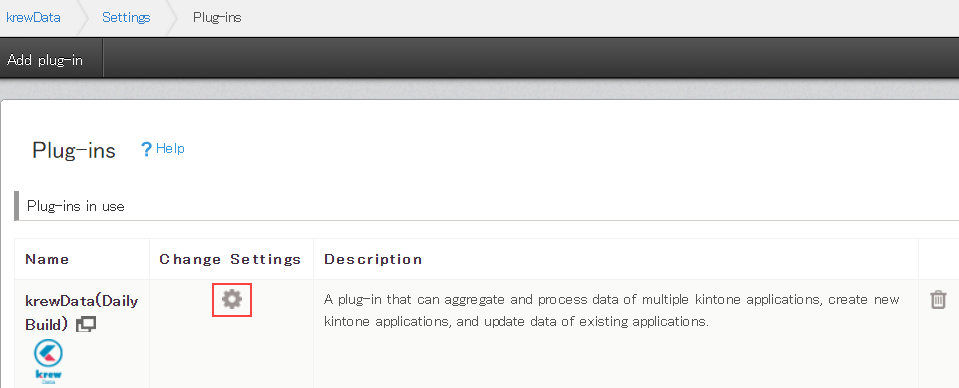
- On the Settings page of app, go to App Settings tab and click Customization and Integration > Plug-ins.
- Click the gear symbol to open krewData Plug-in Settings page.
- On krewData Plug-in Settings page, a dialog to input serial number gets displayed. You need to enter the serial number of schedule execution or real time execution received on purchasing or on applying the free evaluation.
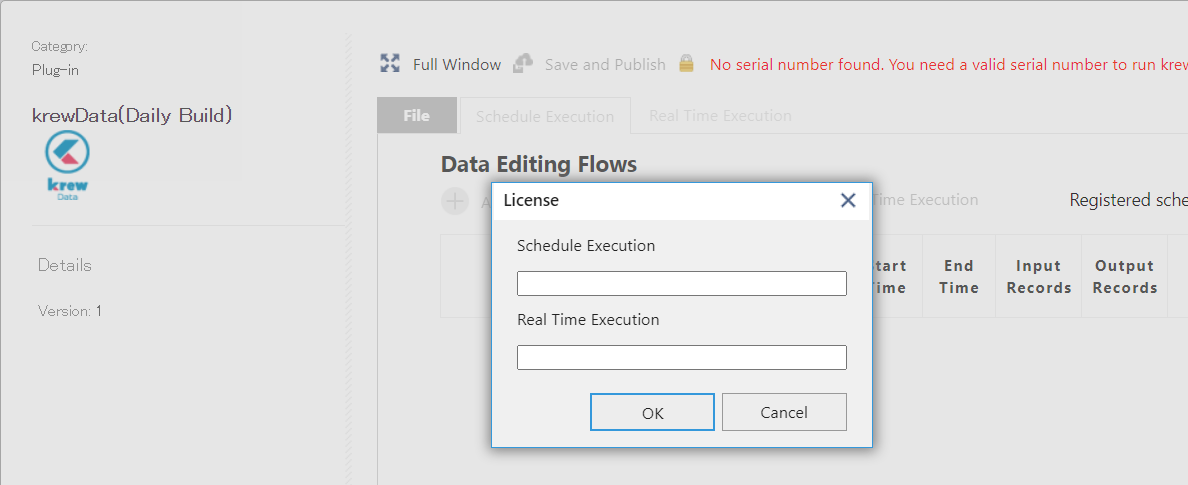
- Schedule execution: Enter the serial number of schedule execution plan.
- Real time execution: Enter the serial number of real time execution plan.
To check the license status, select License from the menu in left pane of the Files tab.

|
|
This section describes how to deactivate krewData plug-in.
Remove from App
You can remove the krewData plug-in from a krewData app by going to the Plug-in Settings page.
This process is carried out by the App Administrator for each app.
- Open the Settings page of app.
See Opening the App Settings Page. - On the Settings page of app, go to App Settings tab and click Customization and Integration > Plug-ins.
- Click the recycle bin icon on far right.
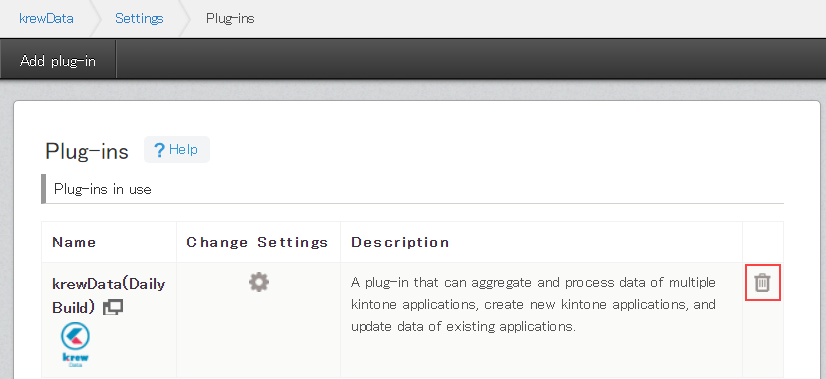
- Click Remove button when asked "Are you sure you want to remove this plug-in?".
|
|
Uninstall the krewData Plug-in
This action disables krewData in all the apps.
This operation is performed by the kintone system administrator.
- Open the kintone Administration screen.
See Opening the System Administration Screen. - Click Other > Plug-ins.
- Click the recycle bin icon on the far right.
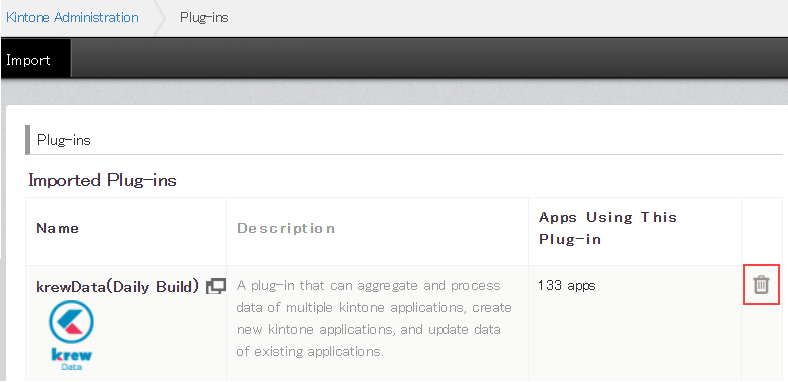
- Click Uninstall button when asked "Are you sure you want to uninstall this plug-in?".